

Ironing a designer golf shirt might seem like a simple task, but when dealing with high - end garments, there are specific steps and techniques to ensure that the shirt not only looks its best but also maintains its quality over time. As a supplier of designer golf shirts, I've had the opportunity to learn about the proper care of these exquisite pieces, and I'm excited to share my knowledge with you.
Understanding the Fabric
Before you start ironing, it's crucial to understand the fabric of your designer golf shirt. Most designer golf shirts are made from materials like cotton, polyester blends, or high - tech moisture - wicking fabrics. Each fabric has its own ironing requirements.
Cotton shirts are classic and breathable, but they tend to wrinkle easily. When ironing a cotton designer golf shirt, you can usually use a medium to high heat setting on your iron. However, always check the care label first. Some cotton shirts may be pre - treated to resist wrinkles, and using too high a heat could damage the treatment.
Polyester blends are common in golf shirts because they are durable, lightweight, and often have moisture - wicking properties. These shirts generally require a lower heat setting on the iron. High heat can cause the polyester fibers to melt or become shiny, which is an unsightly result.
High - tech moisture - wicking fabrics are designed to keep you dry during a round of golf. They are usually made from synthetic materials and need to be ironed at a low temperature. Ironing at a high temperature can damage the fabric's moisture - wicking capabilities.
Preparing the Shirt and the Iron
Once you've identified the fabric of your shirt, it's time to prepare both the shirt and the iron. Start by filling your iron with distilled water if it has a steam function. Distilled water helps prevent mineral buildup in the iron, which can clog the steam holes and leave stains on your shirt.
Let the iron heat up to the appropriate temperature based on the fabric. While the iron is heating, lay the shirt on a clean ironing board. Smooth out any large wrinkles by hand before you start ironing. This makes the process quicker and more efficient.
Ironing the Collar
The collar is one of the most noticeable parts of a golf shirt, so it's important to get it right. Start by ironing the underside of the collar. Place the iron at the base of the collar and gently glide it towards the tip. Use a pressing motion rather than a rubbing one to avoid stretching the fabric.
If your shirt has a collar stay, be careful not to let the iron come into direct contact with it. High heat can damage the collar stay and affect its shape. After ironing the underside, turn the collar over and iron the top side in the same manner.
Ironing the Sleeves
Next, move on to the sleeves. Lay the sleeve flat on the ironing board, with the seam running down the middle. Start at the shoulder and iron towards the cuff. Pay special attention to the cuff area, as it can often get wrinkled.

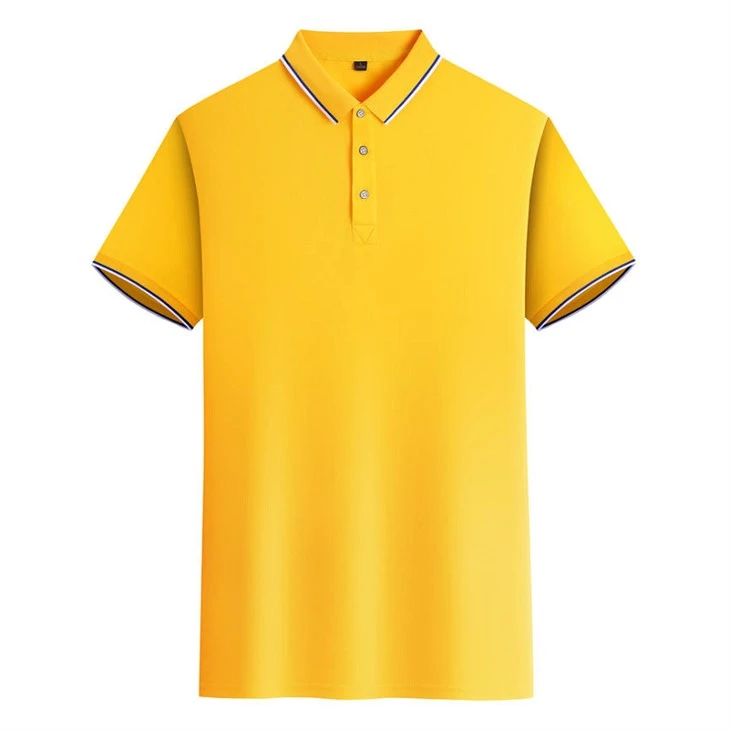
For shirts with a button - down cuff, unbutton the cuff first to make it easier to iron. Iron the cuff from the inside out, then turn it over and iron the outside. If there are any pleats or folds in the sleeve, press them gently to maintain their shape.
Ironing the Body of the Shirt
Now it's time to iron the body of the shirt. Begin with the back of the shirt. Place the iron in the center of the back and work your way out towards the sides. Use long, smooth strokes to flatten the fabric.
When ironing the front of the shirt, be careful around the buttons. You can place a thin cloth over the buttons to prevent the iron from leaving marks on them. Start at the top of the shirt and iron downwards, paying attention to any pockets or decorative elements.
If your shirt has a logo or print on it, avoid ironing directly over it. High heat can damage the logo or cause the colors to fade. Instead, iron around the logo or use a lower heat setting and a pressing cloth.
Finishing Touches
After you've ironed all the major parts of the shirt, give it one final once - over to make sure there are no remaining wrinkles. Hang the shirt immediately after ironing to prevent new wrinkles from forming.
If you want to add a professional touch, you can use a clothes steamer to refresh the shirt before wearing it. A steamer can help relax the fabric and remove any minor wrinkles that may have appeared during hanging.
Maintaining the Quality of Your Designer Golf Shirts
Proper ironing is just one part of maintaining the quality of your designer golf shirts. Here are some additional tips:
- Always follow the care instructions on the label. This includes washing the shirt in the appropriate temperature water and using the right type of detergent.
- Avoid over - washing your shirts, as this can cause the fabric to wear out faster.
- Store your shirts in a cool, dry place. Hanging them on padded hangers can help maintain their shape.
Explore Our Collection
As a supplier of designer golf shirts, we offer a wide range of styles and sizes to meet your needs. Whether you're looking for Mens 4xl Polo Shirts, Mens Casual Polo Shirts, or Mens Athletic Polo Shirts, we have something for everyone.
Our shirts are made from high - quality materials and are designed to look great on the golf course and in everyday life. We take pride in our craftsmanship and attention to detail, ensuring that each shirt meets the highest standards of quality.
Contact Us for Purchasing
If you're interested in purchasing our designer golf shirts, we'd love to hear from you. Whether you're an individual looking for a new shirt or a retailer interested in stocking our products, we're here to assist you. Contact us to start a discussion about your specific needs and how we can provide you with the perfect designer golf shirts.
References
- "The Complete Guide to Ironing Different Fabrics", Textile Care Institute
- "Caring for Your Golf Apparel", Golf Equipment Magazine